My 'First in the U.S.A.', Elsbett single tank DIY VW TDI
conversion.
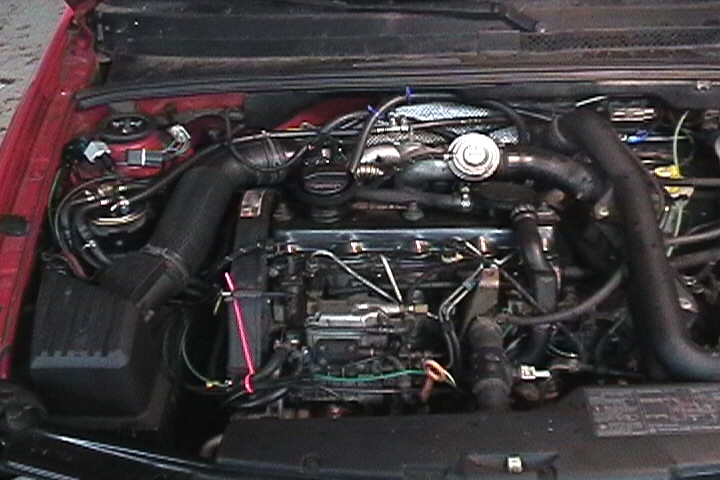
Above is the left side of engine compartment. The modified
injectors and new glow plugs are already installed. Elsbett
generously provided new inter injector fuel lines too. Visible at the top
above the EGR valve is the coolant lines that "T" into the cabin heater
hoses. They have blue tie-wraps. Above and to the left , the shiny "T"
fuel line fitting which leads from the coolant heater ( not visible )
to the fuel filters on either shock tower. To the right of the EGR
valve is a blue inline splice for wiring into the coolant relay just
above the splice. On the left side, the electric fuel filter heater is
around the std. fuel filter ( not visible ). Above the f.f. is the 3
relays that control the f.f. heater, and engine and coolant glow plugs.
Below the fuel pump you can see a new fuel line warpped in pink
tie-wrap. A green wire leads right to left to the thermoswitch mounted
on the back of the oil filter housing. Not visible are the wires to the
alternator, fuel solenoid and coolant temperature sensor.
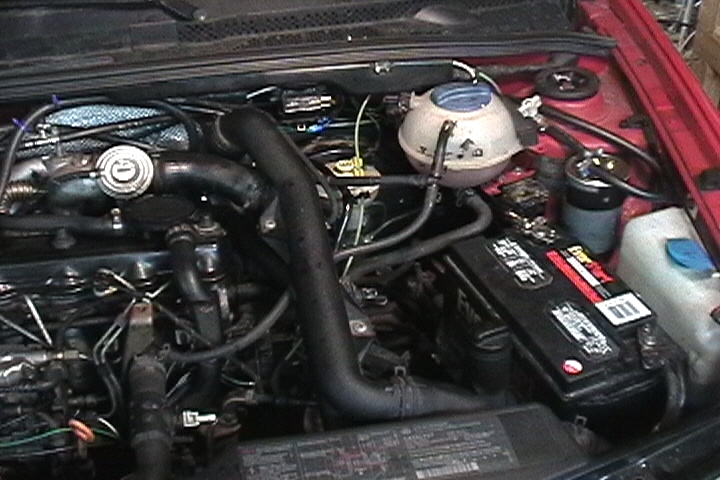
On ethe right shock tower is where I mounted the spare fuel
filter. There is little room under the hood, and this spot had the
room, PLUS, two bolts were ALREADY THERE for mounting a fuel filter
clamp! VW must have provisiond for f.f.'s at either side. Note the
shutoff valve to the right of the coolant resevoir. To place the f.f. clamp
here I had to swing the +12V battery clamp counter clockwise. It just
fits between the coolant hose and fuse block.
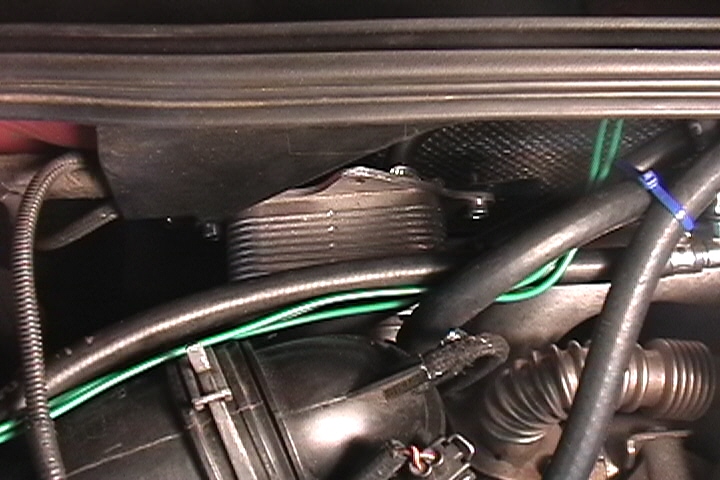
This is the coolant fuel heater. It's small, about the size of 2
cigarette packs. It's up against the firewall on the left side, behind
the air intake tube. I made a bracket out of a 2" x 12" piece of
galvanized strapping. It mounts to a bolt that holds the A/C lines to
the firewall. I lost the original nut to the engine pan. :( It's a 6mm
nut. Planning and fabricating this bracket took 3-4 hours. I'm not
entirely satisfied. While all hoses clear, there may be some chaffing
to worry about. Diesels vibrate a lot and this can cause chaffing of
hoses and plastic parts. I made a copper shield to wrap around hoses
that rubbed against sharp metal edges. Elsbett recommends placing this
below and to the left of the brake booster, but I couldn't find any
suitable mounting points. Wherever it goes, you'll have to make your
own bracket.
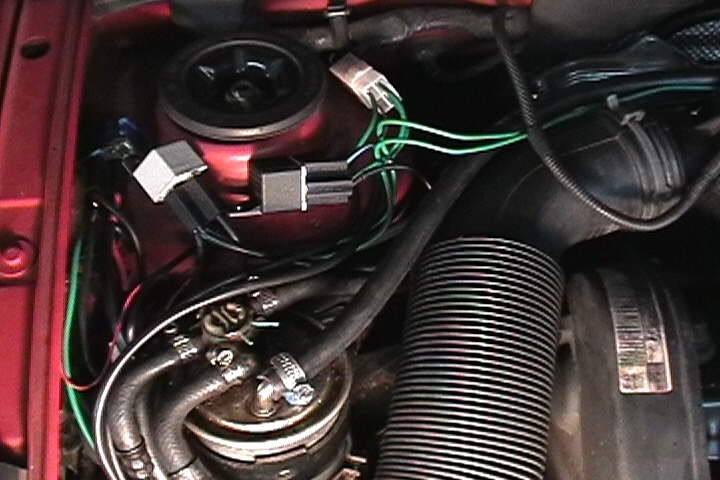
The 3 control relays. Unfinished, just laying on the left shock
tower. I'll mount them with rubber to isolate them from vibration.
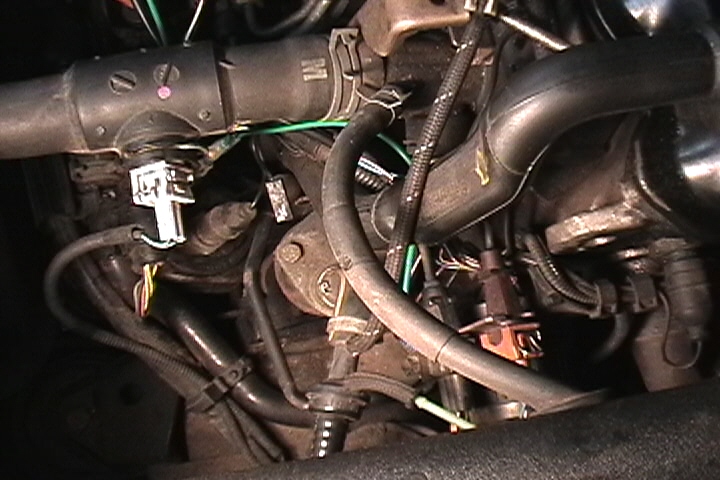
Just behind ( not visible )the bright white electrical connector is the
thermoswitch that controls the electrics. Follow the green wire right to
left. Also not visible are 2 inline splices to the engine coolant
sensor in the lower right portion of the picture. Also a green wire.


